If landscape photography is the supreme test of a photographer, wildlife photography will come close second. Mother Nature can be fascinating and quite whimsical too.
She has extreme mood swings, her twisted plans, and a brutal fascination for extreme prejudice toward a wildlife photographer. But once in a while, she would open that small portal of opportunity – a ray of sunshine, a perfect look against a stunning background, a moment of tenderness, or heartwarming cuteness. It’s her way of saying, she rewards only the most persistent, persevering, and stubborn photographers with the reward – a photograph worth a thousand words.
Don’t take it otherwise; wildlife photography is a very demanding genre. But with the right tools, and more importantly, the right approach, you can achieve excellent results in a short time.
Table of Contents
A Study of Ethology
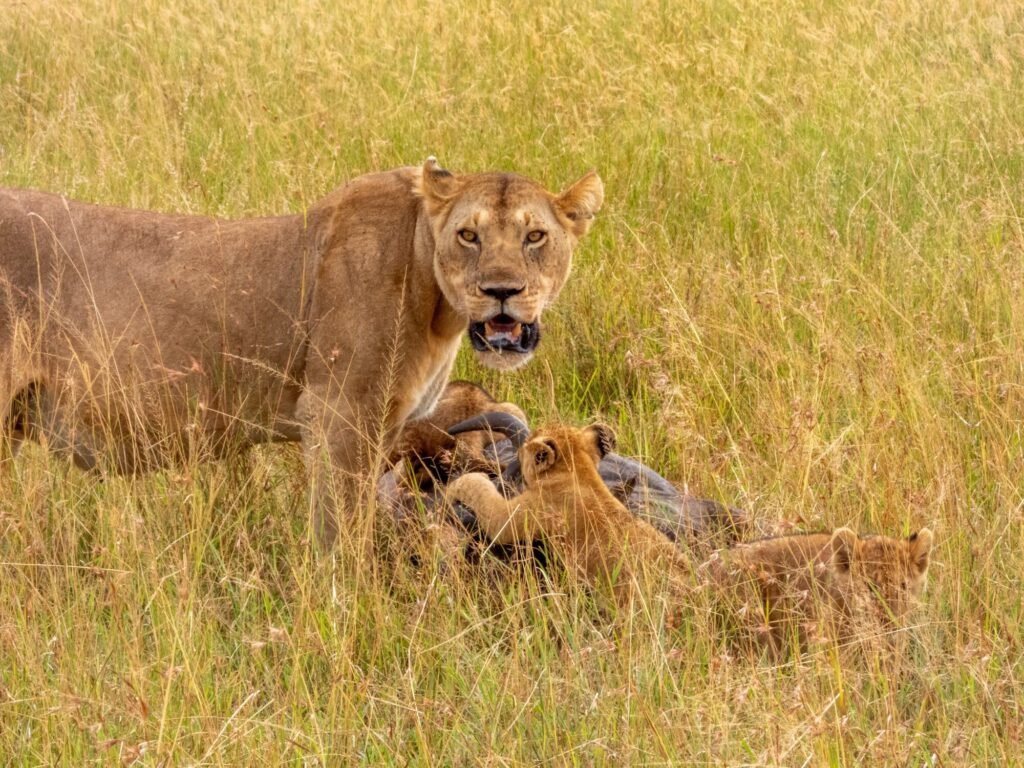
Spending as much time as you possibly can observing and learning about the animals you’re going to photograph is a good way to build your understanding of animal behavior. Unfortunately, however, this may not always be possible if you’re going to do this on a small trip.
Spending large sums of money on international trips is not going to be possible for a majority of beginner wildlife photographers. Unless, of course, your entire trip is funded by a publication or a broadcaster, something that will only happen when you start getting paid assignments.
The next best thing to do is volunteer. That way, you get to be close to your target subjects, and expenses can be minimal.
Not all volunteering opportunities are completely free though. Some offer free accommodation, whereas food and other expenses are chargeable or on their own basis. Some offer discounted meals for volunteers. Many others are fully chargeable.
There are dozens of reliable animal rescue centers and rehabilitation and conservation programs around the world that can do with an extra pair of hands. You can choose and apply with them and gain from the rich experience they offer. Just don’t forget to take your camera with you and utilize your spare time to take magical photos.
Understanding Animal Behavior
The pursuit of wildlife photography can be split into two parts – understanding animal behavior and shooting images. While you will get better as a photographer as you shoot more, the first part is rather tricky and will take you a long time to master.
I have seen beginner wildlife photographers head out to the forest armed with serious equipment and come out empty-handed after a day of toiling. It’s the understanding part that sometimes eludes us.
If you’re bad with animal behavior you’re going to have a tough time doing wildlife photography.
Respect Nature
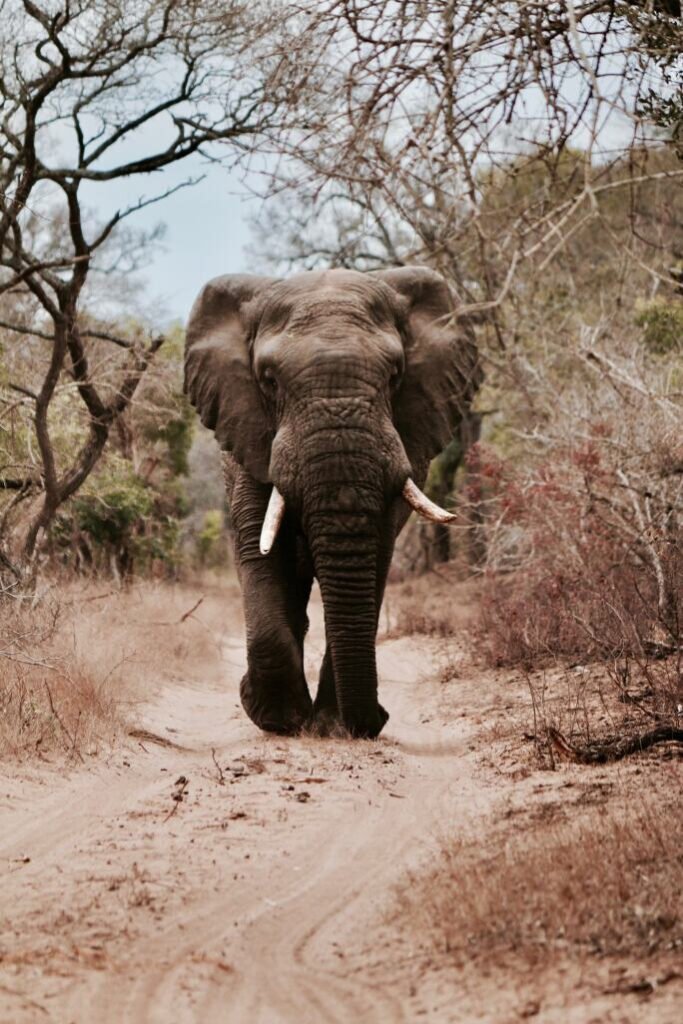
Steve Winter, an award-winning National Geography photographer, had once famously said in an interview that fear is an important part of what we’re as humans. The fact that you’re not afraid could signify that you’re foolish or even dead.
For someone who has spent a lifetime photographing big cats all over the world, Steve knows that fear of the wild is what keeps you safe. That and your preparations. That’s why he always ventures out with local help by his side.
Don’t Put the Animals in Distress
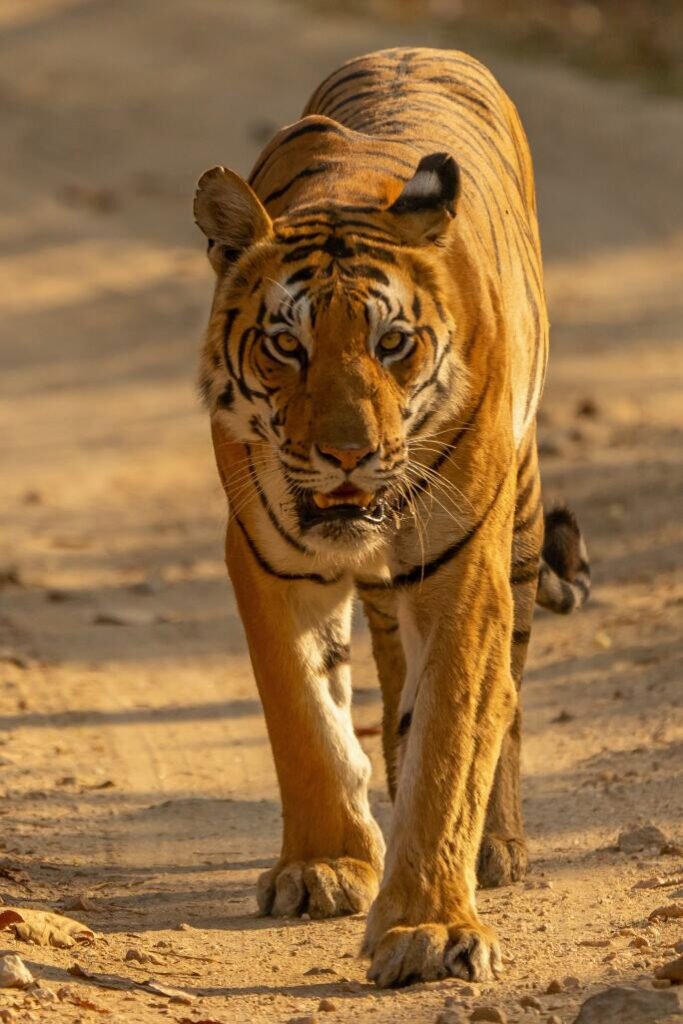
Another thing to note is that you shouldn’t put the animal in distress by your actions. I feel this is where your study of ethology will come into use. Alternatively, you can hire the services of a park guide which will be immensely useful.
Most national parks will provide a guide by default. In India, you cannot enter a restricted forest area without a park guide accompanying you. The same rules apply when you’re entering parks in Kenya and Tanzania.
Your guide will prevent you from getting too close to the animals and crossing that ethical boundary of wildlife photography.
Essential Equipment for Wildlife Photography
There are three major types of equipment that you need to shoot wildlife photography. Two, if you’re on a budget and want a no-frills attached setup. Let’s look at the major parameters for choosing your equipment.
Camera
I’ll write a detailed article on the topic of choosing the best cameras for wildlife photography. Ditto for the best lenses for wildlife photography. In that discussion, I will address all the major parameters that you’ve to look at when shortlisting a camera and a lens.
Let me list the major features that you should look for in a camera for your wildlife photography adventures –
- Fast continuous autofocusing.
- Eye-detect autofocusing if possible.
- High frame rate.
- Ability to use long tele-lenses and optical zoom (leaves out point-and-shoot cameras and smartphones).
- Customization option to use a button at the back of the camera as the focus select (back-button focusing).
- Very little shutter lag.
- No viewfinder blackout (mirrorless are great for this).
- Built-in image stabilization.
- Lightweight.
- Weather sealing.
Lens
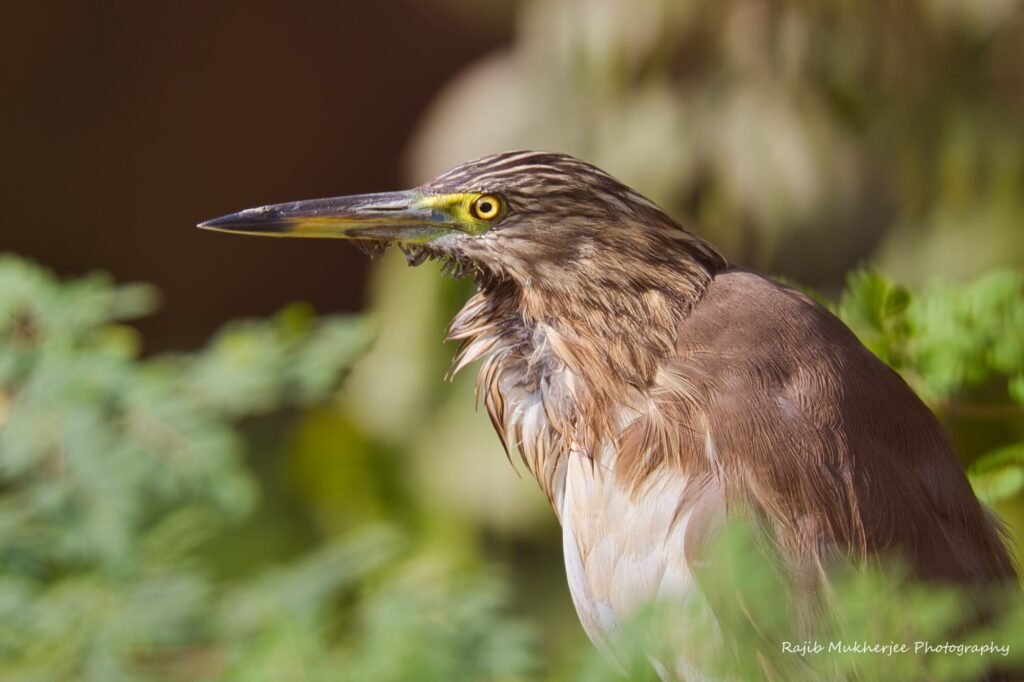
The lens is the most important aspect of your kit. The camera comes second. It’s just a light-tight box that converts analog signals into digital. That’s it. It’s the lens that transmits the light through the various lens elements and then focuses each wavelength on a point on the image plane/sensor. Thus, the role played by the sensor is much more important than the role played by the camera.
I am not saying that the camera isn’t important. It is. But the lens is more important than the camera.
The major factors to look out for when choosing a lens for wildlife photography –
Minimum focal length of 200-300mm.
The focal length depends on the animal/bird you’re going to photograph. For wild elephants, you need a minimum of 500mm because that will allow you to safely shoot from a distance. the last thing you would want is a wild tusker charging towards you at full steam.
I would also pick a 500mm lens for birds because they’re fidgety and easily scared.
For animals that are less likely to pose a serious existential threat to you and the vehicle you’re in, like a cheetah, for example, you can easily get wonderful shots using a 300mm.
Encounters like this are increasingly common but I don’t recommend getting too familiar with a creature that can easily cause serious harm. So, a longer lens is a must-have as is the need to keep sufficient distance.
You also need a fast wide open aperture. Please note, long lenses with fast wide apertures are more premium than the lenses with smaller apertures or variable apertures.
The other factors that you should consider are image stabilization, a focus range delimiter option, thermally stable components-based construction, and weather sealing.
Accessories
The following are the most you will ever need to shoot wildlife photography. Please note that some of these accessories are meant only for professional wildlife photographers. For example, a waterproof tarp is required when you’re going to spend a considerable amount of time at a location without cover. This is just to protect yourself and more importantly your gear.
A bean bag will help you stabilize your camera in places where a tripod or a monopod is not feasible.
Many times a tripod is an impractical choice. Such as when you’re shooting from inside a safari vehicle with five other photographers jostling for the best view. Even a monopod may be a limiting thing in a situation like that. A bean bag is a much more convenient choice.
That said when you do have the opportunity to use a monopod use it. A monopod will help you to transfer the weight of your camera when you need it. Such as when you’re shooting birds and you’re lugging a heavy piece of gear on your shoulder, a monopod can be a lifesaver.
You will also need a Photographer’s Ephemeris (to track the sun, sunrise, and sunset times). This is self-explanatory. This will help you to locate the best directional lighting for your images. it will also help you to plan your shoot knowing when the sunrise and sunset times are.
A clear glass filter or a UV filter will help prevent dust or dirt from reaching the front element of your lens. In case you don’t want to use a UV/clear filter, you can choose a delicate brush that will help you clean the front element of your lens. Use separate brushes for your lens glass and your camera and lens body.
The final requirement is a good camera bag that’s preferably waterproof to pack everything in.
Why Patience is a Virtue When it Comes to Wildlife Photography
“Adopt the pace of nature: her secret is patience.” – Ralph Waldo Emerson
Interesting images will take time and it requires you to be more patient. Nature has her way of unfolding her greatest secrets. If you’re looking for images and stories that are fit for the cover of a wildlife magazine you got to have oodles of patience.
No one makes the effort to know how much time and effort goes into taking some of the best wildlife photos you see on the cover of National Geographic magazine or any other wildlife photography magazine. This is because wildlife photographers never share their missed shots. They’re too shy to tell you the number of times they get it horribly wrong for that one shot where everything comes together. That’s what wildlife photography is. It takes time to perfect and more time to get those great head-turning shots. If you could get even one great shot after a day of shooting consider yourself lucky. Some photographers don’t get one on an entire trip. So your odds are still better.
Shooting Techniques for Wildlife Photography
Focus on the two main things – the right lighting and the right composition. While lighting may not always be in your control, you can always try and compensate for that with your compositional acumen.
The best times to shoot wildlife photos are during the early and late hours of the day. The light is smooth and directional and produces a soft effect which produces great results.
This is incidentally also the time of the day when the predators are the most active. So, if you are planning on photographing the big cats, for example, this is the time to do it.
I have written at length about the rules of composition on this website. Consider these rules as a sort of guide for you to approach composition in photography. Not just wildlife photography but all kinds of photography. But don’t let yourself be burdened by the pressures of compliance. These are not rules laid out in stone.
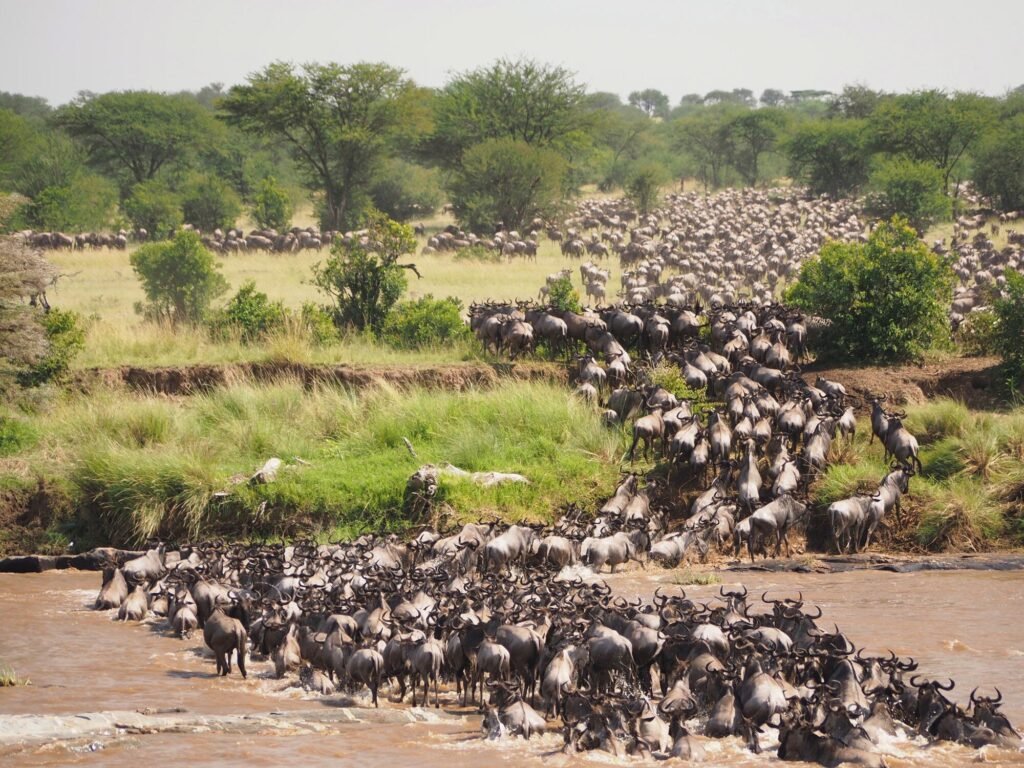
Feel free to experiment with the rules and the approach. Change the shooting angle to change the perspective and by doing so focus on an aspect of the shot that perhaps no one else has thought before. At the end of the day, it’s the story that you are trying to tell that matters.
Post-processing Technique
Luminar Neo by Skylum and Adobe Lightroom handle the bulk of my photo editing workload. I love both these tools for their convenience, easy-to-use interface, and of course the powerful features that they have.
Initially, Lightroom was my favorite tool for photo editing. however, of late, I have started using Luminar Neo for editing my photos. It’s fast and intuitive and the AI-powered extensions do most of the heavy lifting.
Noise Reduction Using Lightroom Denoise Tool
Noise reduction, by far, is the single biggest editing requirement that I have for my wildlife photos. Yes, I also need some amount of brightness, contrast, and white balance adjustment. I also make corrections for chromatic aberrations and vignetting.
With Lightroom, you get this cool new Denoise tool that pretty much takes care of your noise issues with just one click.
Luminar Neo Noiseless AI Extension
With Luminar Neo you get the Noiseless AI Extension. With this extension, you would be able to adjust most of your noise issues.
Please note that there is also a manual Denoise option in Luminar. You can use this when you prefer to do a manual adjustment. It offers separate controls for luminosity and color noise. But the AI extension does a pretty good job and now it’s my default for all noise adjustment requirements.
Concluding Thoughts
As a photographer looking to start a career in wildlife photography, I would recommend that you get started for all the right reasons and start on the right note. Start by making an effort to understand wild animals and studying animal behavior. This will ensure that even before you pick up a camera you know what to look for and what makes a compelling image. Thus, when that moment arrives when the light, the pose, and the background everything comes together you capture the shot on instinct.
Leave a Reply